系统构建
为了便于依赖管理,官方建议我们使用Maven或者Gradle,以便进行依赖管理。当然,Spring Boot 也支持其他系统构建方式(如Ant)。 使用 Spring Boot ,你不需要提供相关依赖的版本,Spring Boot 会自动对其进行管理。当你进行系统升级的时候,只需要修改Spring Boot 的版本号就行了,Spring Boot 会自动对其他的依赖进行升级。当然,你也可以根据具体的需要,指定依赖版本来覆盖Spring Boot 的推荐的依赖版本。
Maven
我们知道,可以通过继承spring-boot-starter-parent 的方式来添加 Spring Boot 的相关支持,这个父项目为我们提供以下几个默认配置:
- Java 1.6 编译级别
- UTF-8编码方式
- 依赖管理模块,你在添加依赖的时候可以省略
标签,继承自 spring-boot-dependencies POM - 资源文件过滤(将${…}定义的变量,在输出到target文件中时,替换为变量的值)
- 插件配置(exec plugin, surefire, Git commit ID, shade)
- application.properties 和 application.yml 文件过滤 POM项目只支持单继承,但有的时候,我们必须要继承其他POM,或者使用我们自己的配置。这时,如果我们要添加 Spring Boot 的支持,可以通过其他方式。
A.如果在整个项目中使用spring-boot,可以在根pom文件中引入spring-boot-starter-parent作为父pom配置:
<parent>
    <groupId>org.springframework.boot</groupId>
    <artifactId>spring-boot-starter-parent</artifactId>
    <version>1.3.6.RELEASE</version>
</parent>
如果只需要在子模块中使用spring-boot,需要在相应模块pom中添加spring-boot-dependencies依赖:
<dependencyManagement>
    <dependencies>
        <dependency>
            <!-- Import dependency management from Spring Boot -->
            <groupId>org.springframework.boot</groupId>
            <artifactId>spring-boot-dependencies</artifactId>
            <version>1.3.6.RELEASE</version>
            <type>pom</type>
            <scope>import</scope>
        </dependency>
    </dependencies>
</dependencyManagement>
当然也可以自定义java编译版本:
<properties>
    <java.version>1.8</java.version>
</properties>
添加web依赖:
 <dependencies>
    <dependency>
        <groupId>org.springframework.boot</groupId>
        <artifactId>spring-boot-starter-web</artifactId>
        <!-- spring-boot-dependencies里面已经默认了相应把版本信息,也可以自己配置按需求覆盖  -->
    </dependency>
</dependencies>
查看spring-boot-starter-web可知spring-boot默认使用tomcat作为内嵌容器。使用jetty替换tomcat,配置如下
<dependencies>
    <dependency>
        <groupId>org.springframework.boot</groupId>
        <artifactId>spring-boot-starter-web</artifactId>
        <exclusions>
            <exclusion>
                <artifactId>spring-boot-starter-tomcat</artifactId>
                <groupId>org.springframework.boot</groupId>
            </exclusion>
        </exclusions>
    </dependency>
    <dependency>
        <groupId>org.springframework.boot</groupId>
        <artifactId>spring-boot-starter-jetty</artifactId>
    </dependency>
</dependencies>
编写启动类
@EnableAutoConfiguration
@SpringBootApplication
@ComponentScan(value = "com.sylar") //如果AppServer放在代码包的根目录下,必须添加这项注解,让其只扫描指定的包文件,否则导致重复扫描引入jar中的类导致异常
public class AppServer {
    public static void main(String[] args) {
        SpringApplication.run(AppServer.class, args);
    }
}
编写Restful接口
这里使用的是springmvc也可以使用jesery方案替换
@RestController
@RequestMapping("/common")
public class CommonResource {
    @RequestMapping("/hello")
    String hello(){
        return "demo hello";
    }
}
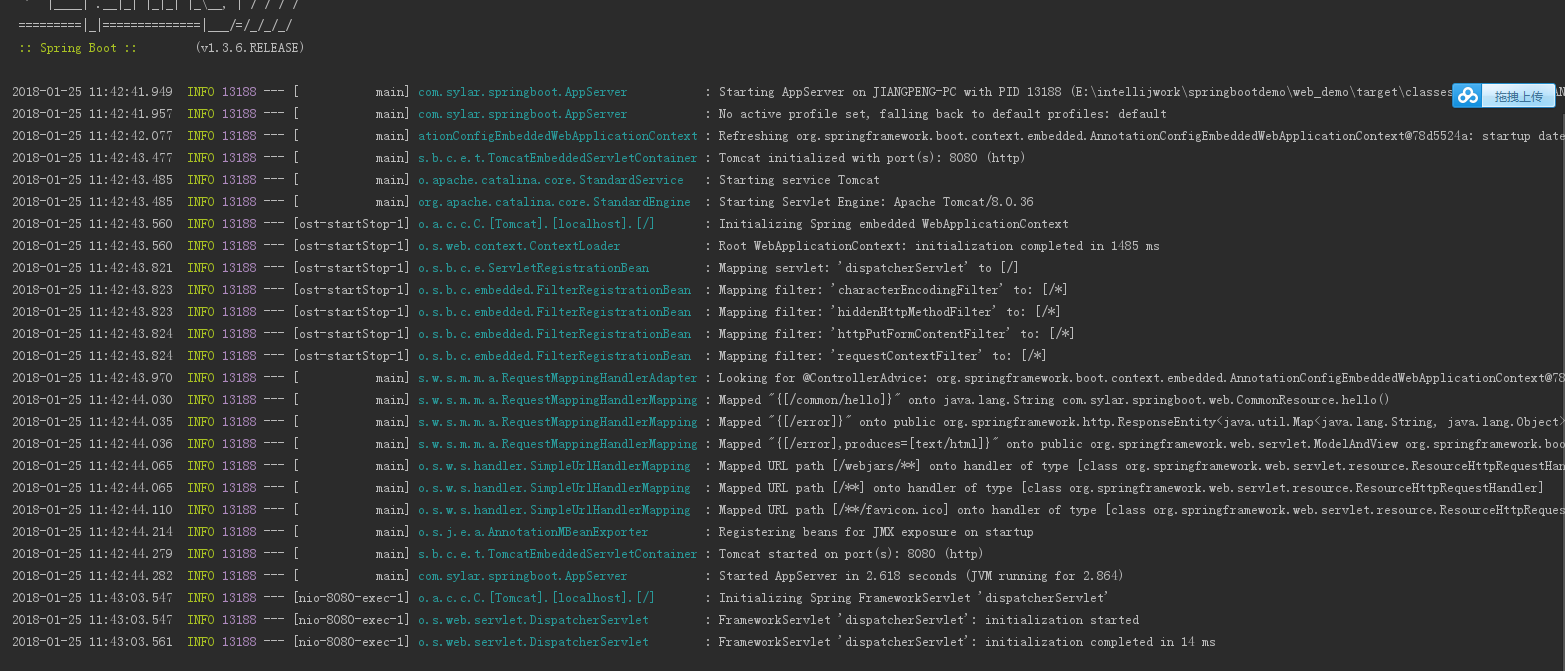
启动AppServer
接口访问
http://127.0.0.1:8080/common/hello
使用自定义服务配置
为简化项目搭建过程,spring-boot整合任何框架都有一套默认的配置,如果需要覆盖这些默认配置,需要在根目录下添加application.yml或application.properties配置文件
server.port=9100
server.contextPath=/web
server.session.timeout=1200
重启可通过 http://127.0.0.1:9100/web/common/hello
使用Jesery作为springMVC替换方案
添加spring-boot-starter-jersey依赖,因为spring-boot-starter-jersey里面已经有了对web容器tomcat的依赖,所以不用另外添加对spring-boot-starter-web或spring-boot-starter-jetty的依赖
<dependencies>
    <dependency>
        <groupId>org.springframework.boot</groupId>
        <artifactId>spring-boot-starter-jersey</artifactId>
    </dependency>
</dependencies>
编写Jesery配置
@Configuration
public class JerseyConfig extends ResourceConfig {

	public JerseyConfig() {
        packages("com.sylar");
	}

}
编写接口
@Component
@Path("common")
public class CommonResource {
	@GET
    @Path("hello")
    @Produces({ MediaType.APPLICATION_JSON })
    public Integer hello(){
        return new Integer(1);
    }
}
测试接口 http://localhost:9100/web/common/hello
静态资源访问
在resources目录下新建static目录 如 resources-static-index.html
- 直接访问路径:http://localhost:9100/web/index.html
- 通过controller访问
@Controller
@RequestMapping("/hello")
public class HelloController {
    @RequestMapping(method = RequestMethod.GET, value = "/index")
    public String helloHtml() {
        return "hello";
    }
}
application.yml中添加
spring.mvc.view.prefix=/
spring.mvc.view.suffix=.html
访问 http://localhost:9100/web/hello/index
注意:
其中默认配置的 /** 映射到 /static (或/public、/resources、/META-INF/resources)
其中默认配置的 /webjars/** 映射到 classpath:/META-INF/resources/webjars/
PS:上面的 static、public、resources 等目录都在 classpath: 下面(如 src/main/resources/static)。